Listen up, foodies! If you're wondering how to make canned corned beef at home, you're in the right place. Corned beef is one of those pantry staples that can save your bacon (pun intended) when you're running low on groceries. Whether you're a seasoned cook or just starting out, this guide will walk you through everything you need to know. So grab a pen, and let's dive into the world of canned corned beef!
Let's face it, canned corned beef might not be the fanciest dish on the block, but it sure packs a punch when it comes to convenience and flavor. You can whip up a hearty meal in no time, and trust me, your taste buds will thank you. Whether you're making a quick sandwich or adding it to a stew, canned corned beef is a game-changer.
Now, before we get into the nitty-gritty, let me tell you why homemade canned corned beef is worth the effort. Not only can you control the ingredients, but you can also customize the flavors to suit your palate. Plus, there's something incredibly satisfying about creating your own canned goods. Ready to take your cooking skills to the next level? Let's go!
Read also:Water Sort Puzzle 281 A Mindblowing Challenge Thats Driving Everyone Crazy
Why Should You Learn How to Make Canned Corned Beef?
Alright, so why bother with homemade canned corned beef when you can just buy it from the store? Well, my friend, there are plenty of reasons. First off, store-bought canned corned beef often comes with added preservatives and weird ingredients you can't pronounce. By making it yourself, you have full control over what goes into your food. Second, homemade canned corned beef can be tailored to your taste preferences. Want it spicier? No problem. Prefer it milder? Done!
And let's not forget about the cost factor. While buying canned corned beef might seem cheap upfront, making it at home can save you money in the long run. Plus, you can make large batches and store them for future use. It's like having your own personal grocery store in your pantry!
What You’ll Need to Make Canned Corned Beef
Before we jump into the recipe, let's talk about the tools and ingredients you'll need. Don't worry; you don't need any fancy equipment. Most of these items are probably already in your kitchen. Here's a quick rundown:
- A large pot for boiling
- Canning jars with lids
- A pressure canner (essential for safe canning)
- Corned beef brisket (you can find this at most grocery stores)
- Spices and seasonings (more on this later)
- Water and vinegar for brining
Now that you've got your gear ready, let's move on to the fun part—preparing the corned beef!
Step-by-Step Guide: How to Make Canned Corned Beef
Step 1: Prep Your Ingredients
First things first, you need to prep your corned beef brisket. Give it a good rinse under cold water to remove any excess salt. While you're at it, gather your spices. A classic combination includes:
- Bay leaves
- Peppercorns
- Coriander seeds
- Cloves
- Mustard seeds
Feel free to adjust the spices to your liking. Want a kick? Add some red pepper flakes. Prefer a sweeter flavor? Throw in a cinnamon stick. The world is your oyster!
Read also:Easy Rick And Morty Painting Ideas Bring The Scifi Chaos To Your Walls
Step 2: Create the Brine
Now it's time to create the brine. In a large pot, combine water, vinegar, and your spices. Bring the mixture to a boil, then reduce the heat and let it simmer for about 10 minutes. This will allow the flavors to meld together. Once the brine is ready, let it cool to room temperature.
Pro tip: If you're short on time, you can speed up the cooling process by placing the pot in an ice bath. Just be careful not to splash water everywhere!
Step 3: Cook the Corned Beef
Place your corned beef brisket in the pot with the brine. Make sure the meat is fully submerged. Cover the pot and bring it to a boil, then reduce the heat and let it simmer for about 2-3 hours. This will ensure the meat is tender and flavorful.
While the corned beef is cooking, take a moment to relax. Maybe grab a snack or binge-watch your favorite show. Life's all about balance, right?
Step 4: Prepare for Canning
Once the corned beef is cooked, remove it from the brine and let it cool. Meanwhile, sterilize your canning jars by boiling them for a few minutes. This step is crucial for ensuring your canned goods stay fresh and safe to eat.
Now, here's where things get interesting. You'll need to slice the corned beef into manageable pieces. This will make it easier to pack into the jars. Trust me, no one wants to wrestle with a giant chunk of meat!
Tips for Successful Canning
Canning might seem intimidating at first, but with a little practice, you'll be a pro in no time. Here are a few tips to help you along the way:
- Always use a pressure canner for meat products. It ensures proper sterilization.
- Leave about an inch of headspace in each jar to allow for expansion during processing.
- Wipe the rims of the jars with a clean cloth to remove any residue before sealing.
- Process the jars according to the recommended time and pressure for meat products.
Remember, safety first! If you're new to canning, consider taking a class or watching some tutorials online. Knowledge is power, my friend!
How to Store Your Canned Corned Beef
Once your jars are processed and cooled, it's time to store them. Find a cool, dark place in your pantry or basement. Avoid exposing them to direct sunlight or extreme temperatures. Properly canned corned beef can last for up to a year, so you'll have plenty of time to enjoy your handiwork.
When you're ready to use your canned corned beef, simply open a jar and get creative in the kitchen. From sandwiches to casseroles, the possibilities are endless!
Delicious Ways to Use Canned Corned Beef
Now that you know how to make canned corned beef, let's talk about all the delicious ways you can use it. Here are a few ideas to get your creative juices flowing:
- Classic corned beef hash for breakfast
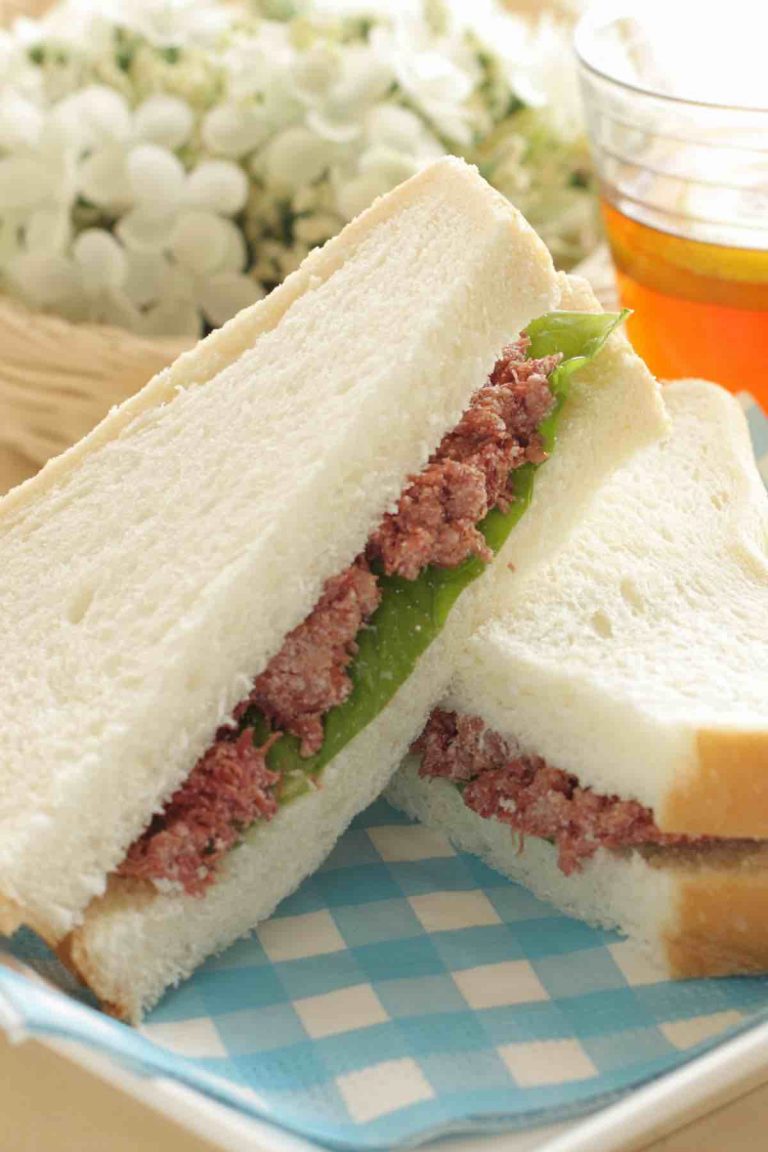
- Corned beef sandwiches with mustard and pickles
- Corned beef and cabbage stew for a comforting dinner
- Corned beef tacos with a spicy kick
Don't be afraid to experiment with different recipes. Cooking is all about having fun and trying new things. Who knows? You might just discover your new favorite dish!
Common Mistakes to Avoid
Even the best cooks make mistakes sometimes. Here are a few common pitfalls to watch out for when making canned corned beef:
- Not using a pressure canner, which can lead to unsafe food storage
- Overcooking the corned beef, which can make it tough and chewy
- Skipping the sterilization step for the jars
- Not following proper canning guidelines
Remember, practice makes perfect. If something doesn't turn out quite right the first time, don't get discouraged. Learn from your mistakes and try again. You've got this!
Conclusion: Your Journey to Canning Corned Beef Success
And there you have it, folks! A comprehensive guide on how to make canned corned beef. From prepping the ingredients to storing your finished product, we've covered it all. Now it's your turn to put this knowledge into action and start creating your own canned goods.
So, what are you waiting for? Grab your apron and get cooking! And don't forget to share your creations with your friends and family. Nothing brings people together like good food. If you have any questions or tips of your own, leave a comment below. Let's keep the conversation going!
Table of Contents
- Why Should You Learn How to Make Canned Corned Beef?
- What You’ll Need to Make Canned Corned Beef
- Step-by-Step Guide: How to Make Canned Corned Beef
- Tips for Successful Canning
- How to Store Your Canned Corned Beef
- Delicious Ways to Use Canned Corned Beef
- Common Mistakes to Avoid
- Conclusion: Your Journey to Canning Corned Beef Success