Who doesn’t love the creamy, dreamy goodness of mashed bananas? Whether you're whipping up a classic banana bread, blending them into smoothies, or adding that extra oomph to your breakfast bowl, mashed bananas are a game-changer. But wait—did you know there’s more to mashing bananas than just squishing them with a fork? Let’s dive deep into the art of perfectly mashing bananas, because who doesn’t want their banana-based creations to be next-level amazing?
Let’s face it, folks, we’ve all been there. You grab a couple of bananas from your fruit bowl, thinking, “This is gonna be easy.” But then, after a couple of minutes of chaotic squishing and smashing, you’re left with uneven chunks of banana that just don’t cut it. That’s where this guide comes in. We’re here to help you level up your banana-mashing game.
From the right tools to the perfect ripeness, we’ll break down everything you need to know about mashing bananas. So, whether you’re a seasoned chef or a kitchen newbie, stick around because this is about to get bananas!
Read also:Mashed Potatoes And Gravy Near Me A Comfort Food Journey You Cant Miss
Why Mash Bananas?
Before we get into the nitty-gritty of how to mash bananas, let’s talk about why you’d want to mash them in the first place. Sure, eating a banana whole is great, but when it comes to cooking and baking, mashed bananas bring a whole new dimension to the table. They add moisture, sweetness, and that unmistakable banana flavor to your dishes. Plus, they’re super versatile. From baked goods to smoothies, mashed bananas can elevate any recipe.
Choosing the Right Bananas
Not all bananas are created equal when it comes to mashing. The ripeness of your bananas plays a huge role in how smooth and creamy your mash will turn out. Here’s what you need to look for:
- Ripe Bananas: These are your go-to for mashing. Look for bananas with yellow skin and a few brown spots. They’ll be soft enough to mash easily and sweet enough to add flavor to your recipes.
- Overripe Bananas: If you’ve got bananas with lots of brown spots or even blackened skin, don’t toss them! These are perfect for mashing. They’re super sweet and will give your recipes that extra kick of flavor.
- Green Bananas: Avoid these if you’re planning to mash. They’re too firm and starchy, which means they won’t mash well and won’t add much sweetness to your dishes.
Tools for Mashing Bananas
Now that you’ve got the right bananas, it’s time to talk tools. You don’t need fancy equipment to mash bananas, but having the right tool can make all the difference. Here are some options:
- Fork: The classic choice. A simple fork is great for small batches and can give you a chunky texture if that’s what you’re going for.
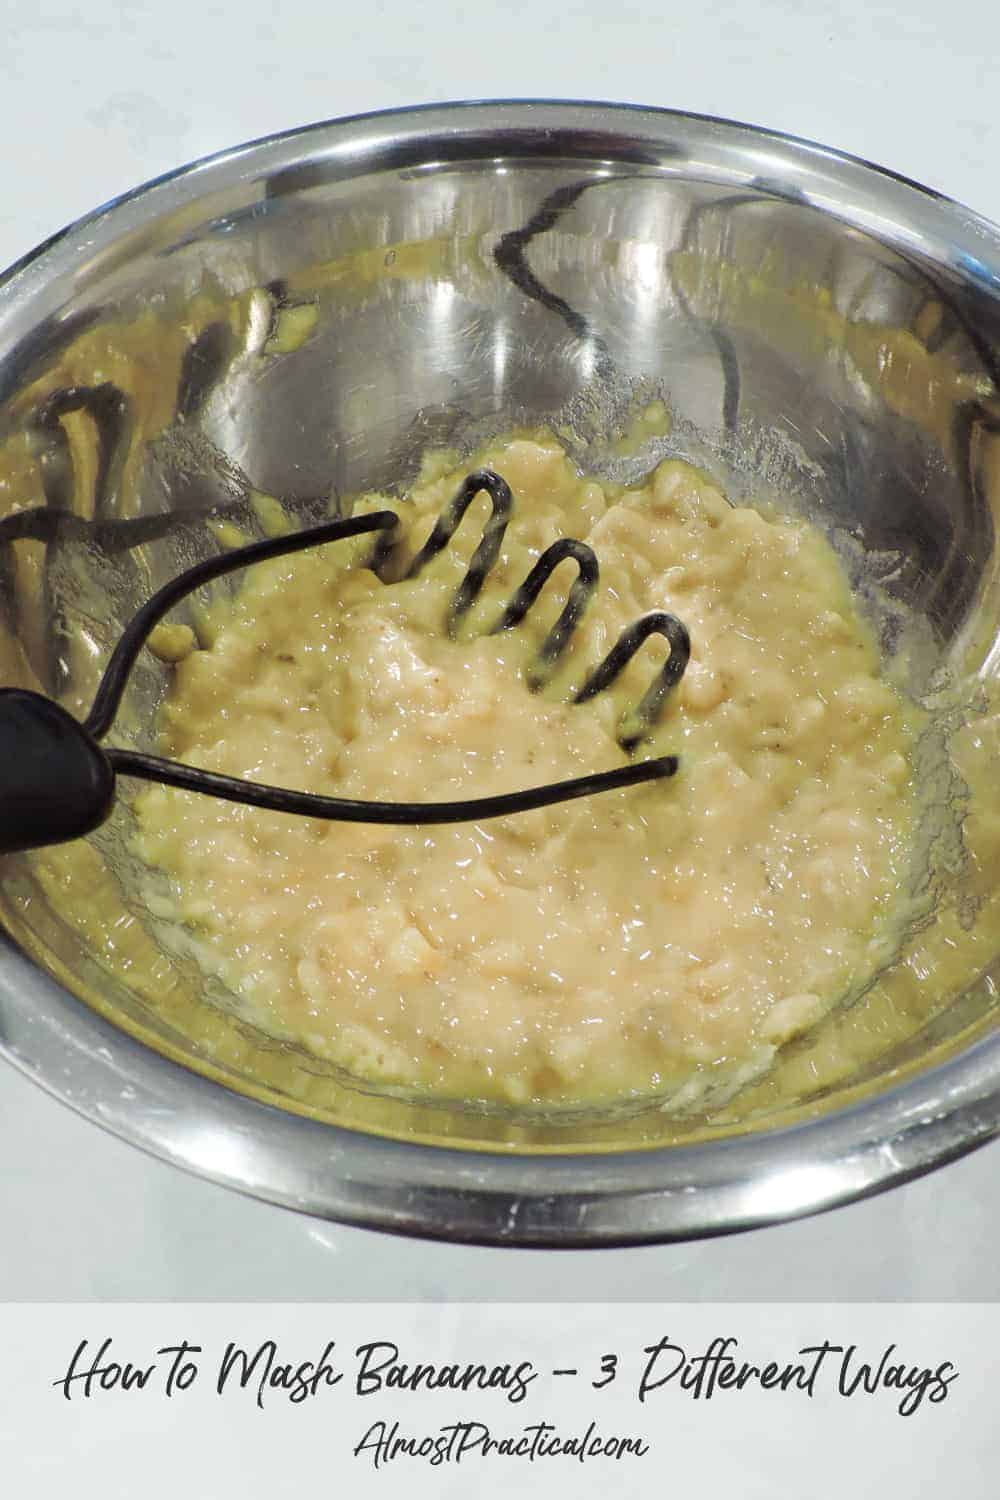
- Potato Masher: If you’re making a larger batch, a potato masher is your best friend. It’ll give you a smoother texture and save you some elbow grease.
- Food Processor: For an ultra-smooth mash, a food processor is the way to go. Just be careful not to over-process, or you’ll end up with banana puree.
Step-by-Step Guide to Mashing Bananas
Ready to get mashing? Here’s a step-by-step guide to help you achieve banana-mashing perfection:
Peeled or Unpeeled?
The first step is to decide whether you want to peel your bananas before or after mashing. Peeling them first is usually the easiest option, but if you’re feeling adventurous, you can mash them unpeeled and then strain out the skins. Just make sure to wash the outside of the bananas thoroughly first.
The Mashing Process
Once your bananas are peeled (or not), it’s time to mash. Here’s how:
Read also:Doordash 500 Gift Card Your Ultimate Guide To Unlocking Delicious Deals
- Place your bananas in a bowl.
- Using your chosen tool, start mashing away. If you’re using a fork, press down firmly on the bananas and move the fork back and forth until you’ve reached your desired consistency.
- If you’re using a potato masher, press down on the bananas with steady pressure, moving the masher up and down until they’re fully mashed.
- For a food processor, cut the bananas into chunks and blend them on low speed until smooth.
Tips and Tricks for Perfect Mashed Bananas
Here are a few tips to take your mashed bananas to the next level:
- Freeze Them First: If you want a smoother mash, try freezing your bananas first. Once they’re frozen, blend them in a food processor for an ultra-smooth texture.
- Add a Little Liquid: If your mash is too thick, add a splash of milk or water to thin it out. This works especially well for smoothies.
- Don’t Over-Mash: Unless you’re going for a puree, be careful not to over-mash your bananas. Too much mashing can lead to a mushy texture that might not be ideal for certain recipes.
Common Mistakes to Avoid
Even the best banana mashers make mistakes sometimes. Here are a few common ones to watch out for:
- Using Unripe Bananas: As we mentioned earlier, unripe bananas won’t mash well and won’t add much flavor to your dishes.
- Mashing Too Hard: If you’re using a fork or potato masher, be careful not to mash too hard, or you’ll end up with a mushy mess.
- Not Measuring: If you’re baking, it’s important to measure your mashed bananas accurately. Too much or too little can throw off the recipe.
Recipes Featuring Mashed Bananas
Now that you know how to mash bananas like a pro, here are a few recipes to try:
Banana Bread
Who doesn’t love a good banana bread? This classic recipe is the perfect way to use your mashed bananas. Simply mix the mashed bananas with flour, sugar, eggs, and baking soda, pour the batter into a loaf pan, and bake until golden brown.
Banana Smoothie
For a quick and healthy breakfast, blend your mashed bananas with some milk, yogurt, and a handful of berries. Add a bit of honey or agave syrup for extra sweetness, and you’ve got yourself a delicious smoothie.
Health Benefits of Mashed Bananas
Not only are mashed bananas delicious, but they’re also packed with nutrients. Here are a few health benefits:
- Potassium: Bananas are a great source of potassium, which helps regulate blood pressure and supports heart health.
- Fiber: Mashed bananas are high in fiber, which can aid in digestion and keep you feeling full longer.
- Vitamins: They’re also rich in vitamins C and B6, which support immune function and energy production.
Storing Mashed Bananas
What if you’ve mashed more bananas than you need? No problem! Here’s how to store them:
- Refrigerator: Store your mashed bananas in an airtight container in the fridge for up to 3 days.
- Freezer: For longer storage, freeze your mashed bananas in portion-sized containers. They’ll keep for up to 3 months and can be thawed when you’re ready to use them.
Conclusion
Mashing bananas might seem like a simple task, but with the right techniques and tools, you can take your banana-based creations to the next level. From choosing the right bananas to avoiding common mistakes, this guide has everything you need to become a banana-mashing pro.
So, what are you waiting for? Grab some bananas, grab your tools, and start mashing! Don’t forget to share your favorite banana recipes in the comments below, and let us know how your mashed bananas turned out. Happy mashing, folks!
Table of Contents